Frostpunk 2: How to Build Research Institute?
In Frostpunk 2, you need to keep improving your city’s technology to survive. One of the most important buildings for this is the Research Institute. The game doesn’t explain how to build it very well, so we’ll break it down for you step-by-step.
Steps to Build a Research Institute in Frostpunk 2
1. Start with a Housing District
First things first, you need a Housing District. If you don’t have one yet, build it at the beginning of the game.
2. Expand Your Housing District

- Click on your Housing District.
- Look for a button that says “Expand the district”
- Click it (you’ll need some heat stamps and prefabs).
- Choose where you want to add new tiles.
- Click the checkmark to confirm.
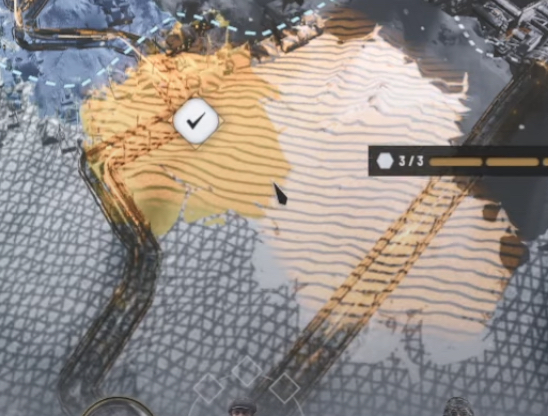
3. Wait for the Building to Finish
Your people will start expanding the district. You can speed up the game if you want it to go faster.
4. Build the Research Institute
Once your Housing District is bigger:
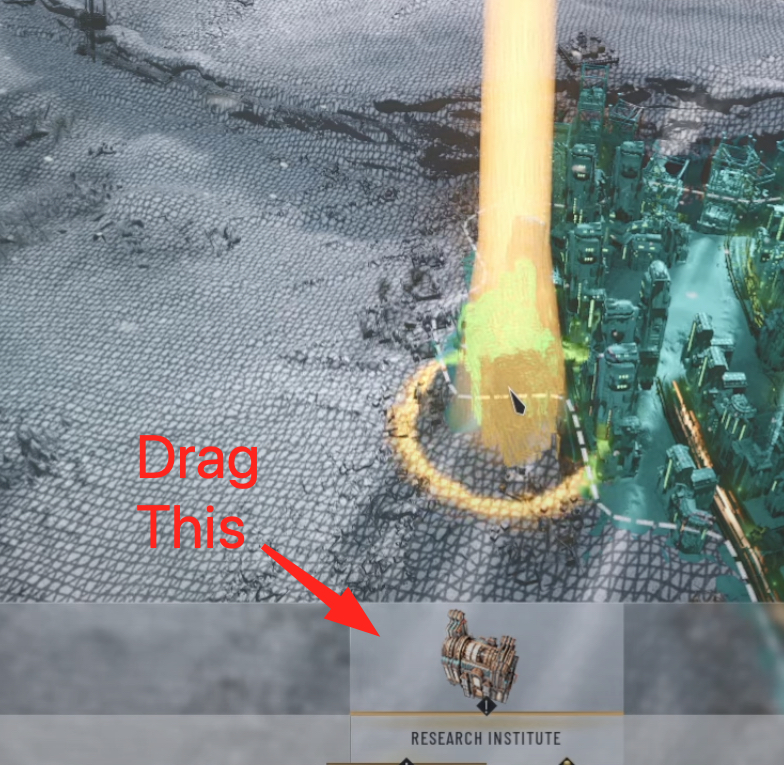
- Click “Construct Buildings”
- Find the Research Institute icon
- Drag it in your expanded Housing District (look for the black circle that shows where you can put it)
Again, you can speed up the game while it’s being built.
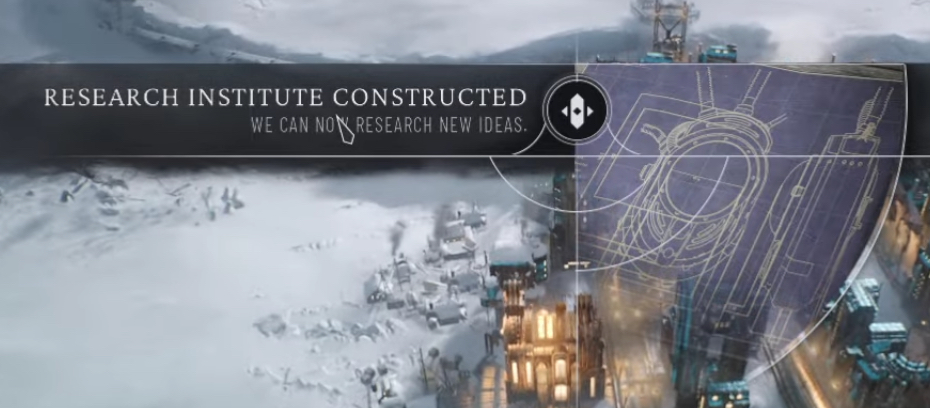
5. Using Your New Research Institute
After it’s built:
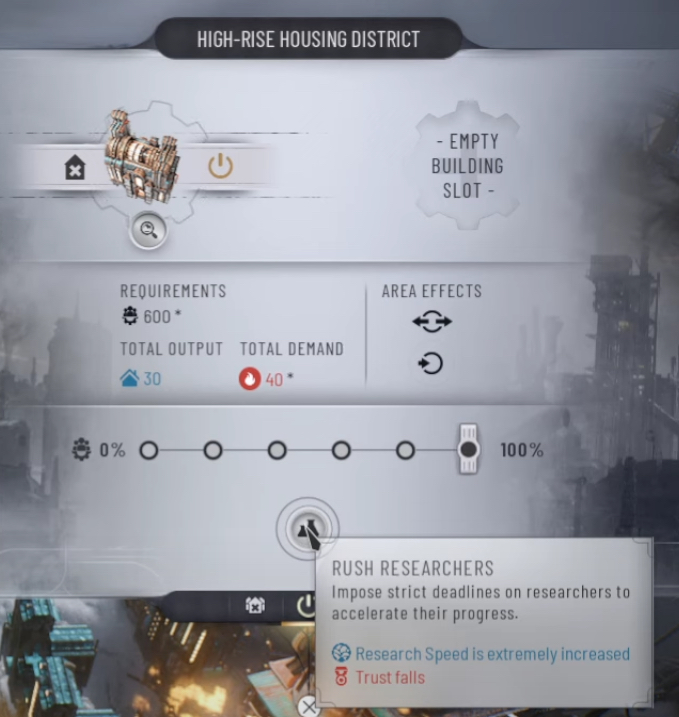
- Click on the newly constructed Research Institute. You’ll find options such as “Rush Researchers,” which imposes strict deadlines to accelerate progress at the cost of increased trust failure.
- Use the button at the bottom called “Idea Tree” to start researching new technologies. From here, you can initiate research on various advancements like housing insulation or improved coal mines.


