How to Set Up Vortex Mod Manager on Your Steam Deck?
Love modding games on your Steam Deck? Installing Vortex Mod Manager can make it a breeze.
This guide will walk you through installing and configuring Vortex Mod Manager on your Steam Deck.
Set Up Vortex Mod Manager for Steam Games
This guide will walk you through using Vortex Mod Manager to mod Steam games on your Steam Deck –
Note – Before you start make sure you have Vortex Mod Manager installed.
1. Setting Up Vortex with Lutris:
- Open Lutris
- Right-click Vortex Mod Manager and select Configure
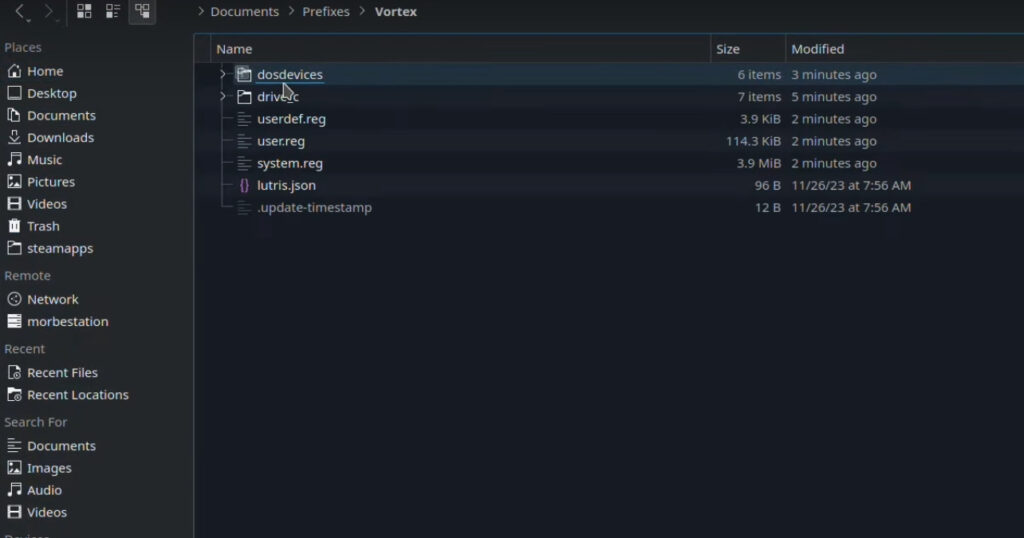
- Note your prefix folder location (e.g., home/documents/prefixes/Vortex)
- Open Dolphin File Manager and go to the same location documents/prefixes/Vortex.
2. Adding a Steam Game to Vortex:
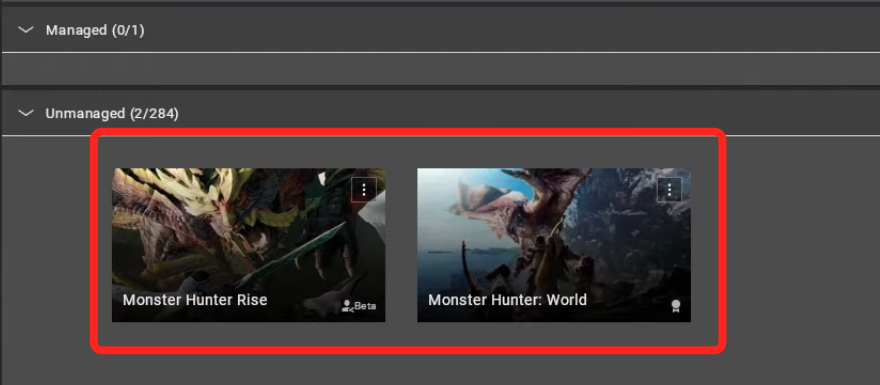
- Open Vortex and go to Games
- Click Manage for Monster Hunter World
- If not found, manually add it:
- Go to home/.steam/steam/steamapps/common
- Drag the game folder into Vortex’s C drive
- Select the game folder in Vortex and click Open
3. Installing Mods:
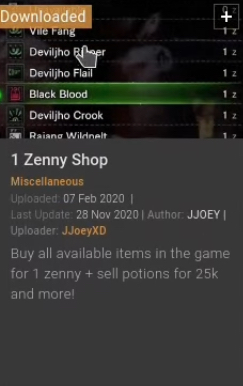
- In Vortex, click the three dots by the game and select Open Nexus Page
- Log in to NexusMods
- Choose and download mods (we’re using One Zeni Shop, Stracker’s Loader, Performance Booster, Monster Weakness Icon, and Guiding Lands Gathering Indicator)
- In Vortex, go to Mods and drag in your downloaded files
- Let Vortex install them
4. Running the Game:
- Move the modded game folder back to steamapps/common
- Launch the game through Steam
- Check if mods are working (e.g., items cost one zeni)
5. Checking Mod Installation:
- Monster Weakness Icons: Look for icons in quest info
- One Zeni Shop: Check item prices in shops
- Guiding Lands Gathering Indicator: Open map in Guiding Lands
Set Up Vortex Mod Manager for Non-Steam Games
Step 1: Get Vortex Mod Manager

- Switch to Desktop Mode on your Steam Deck.
- Open a web browser and go to Nexus Mods.
- Find and download Vortex Mod Manager to your downloads folder.
Step 2: Add Vortex to Steam
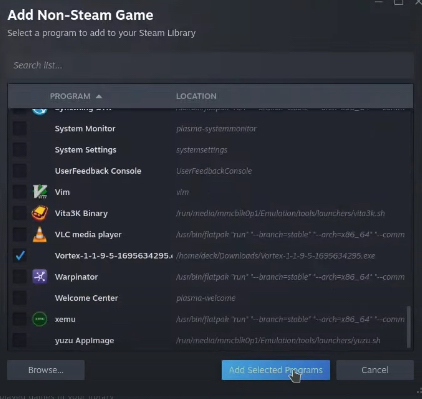
- Click “Add a Game” in your “Steam library” at the bottom left.
- Choose “Add a Non-Steam Game.”
- Find the Vortex installer in your downloads and add it.
Step 3: Set Up Compatibility
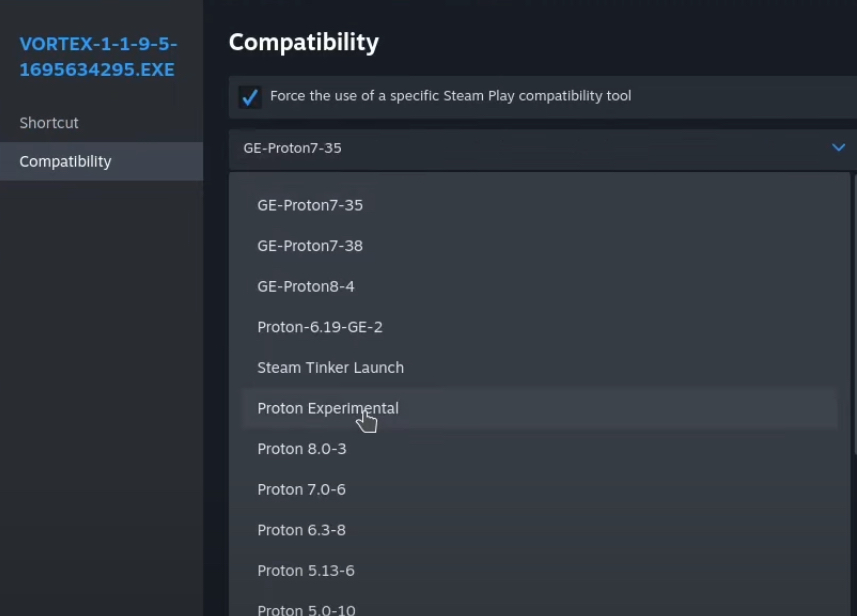
- Find Vortex in your Steam Library and open its properties.
- In the Compatibility tab, check “Force the use of a specific Steam Play compatibility tool.”
- Pick “Proton Experimental” from the dropdown.
Step 4: Install Vortex
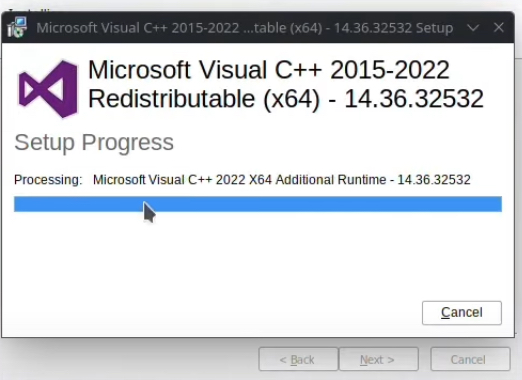
- Click Play in Steam to run the Vortex installer.
- Follow the installation prompts. It’s recommended to install it in the default location (C:\Program Files\Black Tree Gaming Ltd\Vortex).
- Ensure that it finishes properly and close it.
Step 5: Find Where Vortex Installed
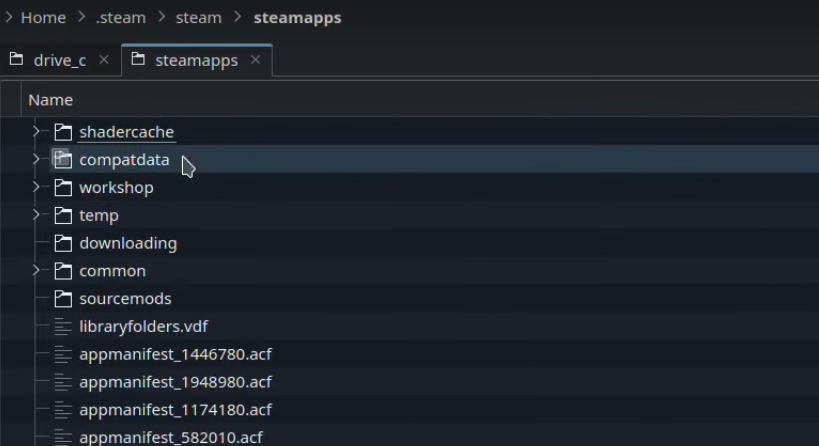
- Open your file manager (Dolphin) and make sure to enable viewing hidden files (this can be done by clicking the three lines at the top and selecting Show Hidden Files).
- Go to ~/.steam/steam/steamapps/compatdata/
- Sort by Modified and find the folder that was recently created for Vortex.
Step 6: Update Vortex Executable Path
- Copy the path of the Vortex directory you just found.
- Go back to Steam and edit the properties of the Vortex entry.
- Change the Target from the installer path to the installed Vortex executable path (Vortex.exe), using quotation marks around the path.
- Ensure the starting directory is also set correctly.
Step 7: Start Vortex
- Find Vortex in Steam and hit Play.
- If asked, install .NET 6 – Vortex needs it.
Step 8: Connect Your Nexus Mods Account
- When Vortex opens, you might need to log in to Nexus Mods.
- Follow the steps to link your account.
Step 9: Set Up Your Games
- In Vortex, add the games you want to mod.
- You might need to show Vortex where your games are installed.
- Make sure Vortex and your games are on the same drive.
Step 10: Try Out Some Mods
- Use Vortex to find mods on Nexus Mods for your game.
- Download and manage mods through Vortex.
- Start your game through Vortex to test the mods.
- If you need to turn off mods, you can do it right there in Vortex.
Wrap Up
That’s it! You’re all set to mod your games on Steam Deck with Vortex. Enjoy customizing your games to make them even better. Have fun gaming!
Need more help? Don’t hesitate to ask for it.


